Auditing is important in Microsoft Purview because many of its features, like Data Loss Prevention (DLP), Insider Risk Management, and Information Protection, rely on audit logs to function effectively. For example, if a user removes a sensitivity label from a document or shares a file externally, that action is recorded in the audit log. These logs then feed into alerts, reports, and risk scoring systems that help security and compliance teams respond quickly and appropriately when there is an issue.
Enabling auditing early ensures that historical data is captured from the start, which is essential for building a complete picture of user behavior and data movement. It also helps organisations meet regulatory requirements, which often require detailed activity tracking and audit trails. In short, auditing lays the groundwork for a secure, compliant, and well governed environment, making it a must do step before diving into the full capabilities of Microsoft Purview.
When auditing is enabled via the Microsoft Purview portal, user and administrator activities across your organisation are captured in the audit log and automatically retained for 180 days. The retention period begins as soon as the data is logged and is governed by your organisation’s audit log retention policies and the user license type. (Refer to the comparison table below for details.)
If auditing is currently disabled, you can activate it either through the Microsoft Purview portal or via Exchange Online PowerShell. Please note: once enabled, it may take several hours before audit log search results become available.
Access the Microsoft Purview portal at purview.microsoft.com
2. Click the Start recording user and admin activity banner. If this is not visible, you have most likely already enabled auditing.
3. Click yes when promoted with the message below
Complete organizational setup To complete this task, we’ll need to complete the setup process for your organization. Would you like to do this now?
Note: It could take up to 60 minutes for the change to take effect once enabled.
Continue to part 5 where I enable device onboarding in Microsoft Purview
In this blog post, I’ll provide a step by step guide on how to enforce admin reauthentication when elevating a role in Azure Privileged Identity Management (PIM) using a Conditional Access policy.
But why would you want an admin to reauthenticate?
Once an admin signs in to the Azure portal, they typically don’t need to authenticate again during that session. Sounds convenient, right? But here’s the problem. If an admin needs to access PIM to elevate their role, they can do so without reauthenticating, because they’re already signed in. This creates a potential security risk. If a bad actor gains access to an authenticated session, they could elevate the admin’s role and cause serious damage to your environment.
By enforcing reauthentication through Conditional Access, you add an extra layer of protection. The admin will be required to verify their identity again before they can elevate to a privileged role, helping to prevent unauthorised access and safeguard your platform.
In this blog post I will:
create an Authentication Context.
create a Conditional Access policy (including the Authentication Context), that prompts for reauthentication when an admin attempts to elevate a role in PIM.
associate the Authentication Context with a PIM role
test the configuration
Task 1:Create an Authentication Context
Authentication Context can be used to enhance the security of data and actions within applications. These applications might include your own custom apps, line of business (LOB) solutions, SharePoint, or services protected by Microsoft Defender for Cloud Apps.
For example, an organisation may store files in SharePoint sites, ranging from something simple like a lunch menu to something more sensitive like a secret BBQ sauce recipe. While everyone might have access to the lunch menu site, access to the secret BBQ sauce recipe site could require users to be on a managed device, use a FIDO2 security key, and accept specific terms of use. Authentication Context can help enforce these policies.
Authentication Context can also be applied in Privileged Identity Management (PIM). For instance, you might require administrators requesting high privilege roles, such as Global Administrator, to authenticate using a FIDO2 key, only allow access from a trusted location, a compliant device and so on.
In this blog post, we’ll focus on a specific use case, prompting administrators to reauthenticate before an admin role is assigned to them via PIM.
In the search bar, type Conditional Access and click Microsoft Entra Conditional Access
3. From the left pane, click Authentication Contexts
4. Enter a name, description and click save
Task 2:Create a Conditional Access policy and associate it with the newly created Authentication Context
Click Policies from the left pane and + New policy
Give your policy a suitable name
Target the users/groups
Click target resources. From the drop down (Select what this policy applies to) click Authentication Context.
The Authentication Context I created earlier is visible for me to select.
Don’t save changes just yet
Continue to step 2 below
2. Scroll down and click sessions
Click Sign-in frequency
Click Every time
Click the select button
3. Switch the toggle to on and click create
Note: You may wish to leave the toggle on report only mode which will ensure the policy does not apply but will provide you with audit logs. Once convinced all is working as it should do, you can enforce the policy by turning it on. Ensure you test with a group of pilot users.
Task 3: Assign the Conditional Access policy to PIM
Search for and access PIM (Microsoft Entra Privileged Identity Management)
2. In this example, I’ll be assigning the Authentication Context I created earlier to the User Administrator role. I have a demo user name Darren who has been assigned the User Administrator Role in PIM. Darren is able to elevate/request for the role and the role is automatically removed after a number of hours.
3. From the left pane, click roles. Search and click User Administrator
4. From the left pane, click Role settings
5. Click Edit to access the default settings.
6. Click the option Microsoft Entra Conditional Access Authentication Context. The Authentication Context I created earlier is visible, which is attached to the Conditional Access Policy which forces the admin to reauthenticate every time.
7. Click update
Task 4: Test the Reauthentication Policy
I’ll be logging in to Azure Portal with a demo user named Darren. I have already assigned Darren’s account to the User Administrator through PIM. Therefore, Darren is eligible to activate this role when needed. Darren is also included within the Conditional Access Policy scope.
I login as Darren and go through MFA
Note: we’ll see the Authentication Context and policy trigger later
2. Whilst logged in as Darren, I search for PIM and click my roles from the left pane.
Click activate
3. Darren is presented with a message requesting for additional verification.
4. Click the message: A Conditional Access policy is enabled and may require additional verification. Click to continue
5. Darren is prompted to login again (reauthenticate)
6. and after reauthenticating, Darren can continue to active the role.
In case you weren’t aware, there are FREE Microsoft courses now available on the official Microsoft Learn YouTube channel.
I’ve compiled a list of these courses below to make it easier for anyone looking to learn something new, prepare for certifications, or just explore what Microsoft has to offer.
In this blog post I’ll explore the benefits of Microsoft Applied Skills Credentials.
Microsoft introduced Applied Skills credentials on October 25th 2023. A new verifiable credential that validates your ability to apply targeted skills needed to implement critical projects aligned to business goals. Applied Skills offers you the opportunity to put your skills centre stage, empowering you to showcase what you can do and what you can bring to key projects in your organisation.
“Organizations are searching for talent that can spearhead their most transformational projects in cloud computing and AI,” Kim Akers, Corporate Vice President, Microsoft Customer and Partner Solutions Enablement and Operations, points out. “With Microsoft Applied Skills, we are offering a streamlined path to validate someone’s skills. So, whether you are a hiring manager, a recruiter, or simply a teammate looking to collaborate, when you see a credential that is verified by Microsoft, you know that you can trust that individual to do the task at hand.”
So, what does this mean?
You may be familiar with traditional exams that present around 50 questions, often including case studies, multiple choice, and drag and drop type of questions. These exams typically cover a broad range of topics. For example, the Azure Administrator certification includes areas such as Entra ID, governance, networking, security, containers, backups, monitoring and more.
Microsoft Applied Skills credentials are different. There are no questions to answer. Instead, you’re provided access to a virtual lab environment, a scenario, and a set of tasks to complete. These tasks require you to implement configurations and changes directly in the lab. Most assessment labs include 12–16 tasks, although the number can vary depending on the skill domain being assessed.
The Applied Skills assessment lab allows you to demonstrate your skills by completing tasks in the associated technology, such as Azure, Microsoft 365, Power Platform, AI and more. You’ll perform tasks in a live, remotely connected virtual machine, working with real software and applications.
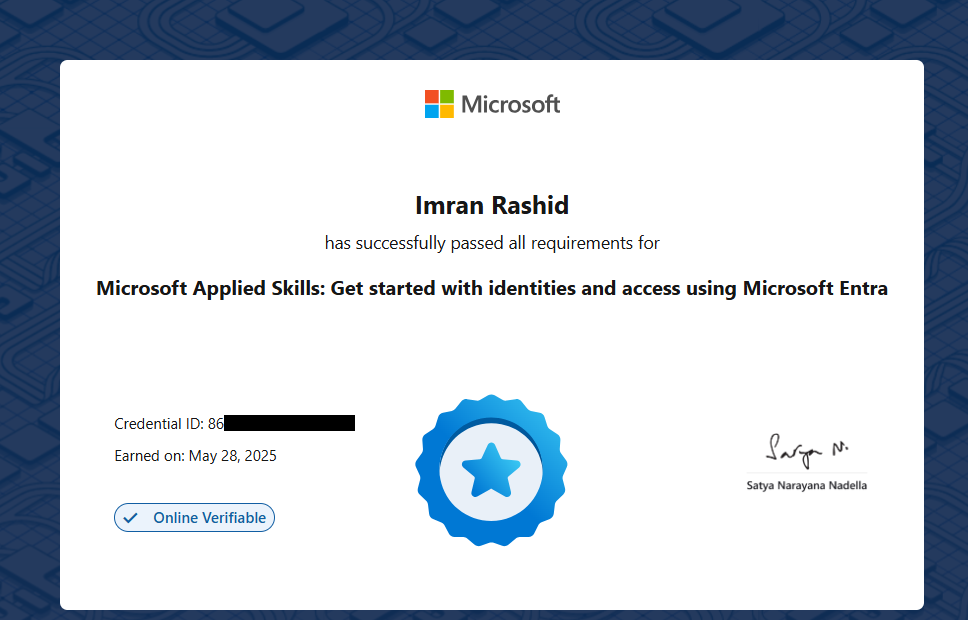
Each credential focuses on a specific skill area, for example, Microsoft Entra ID. Once you complete the tasks, you submit the assessment and receive either a pass or fail result within one minute. If successful, you’ll receive a verifiable credential that you can share via email, LinkedIn, or include in your CV. This credential is linked to your Microsoft Learn profile, providing proof that you’ve passed the assessment.
Does the assessment provide step by step instructions? No, the assessments are intentionally designed to reflect real world, problem solving scenarios where all necessary information might not be explicitly provided. Your ability to navigate, make informed decisions, and apply critical thinking is a key part of what is being assessed, therefore, no step by step instructions are included.
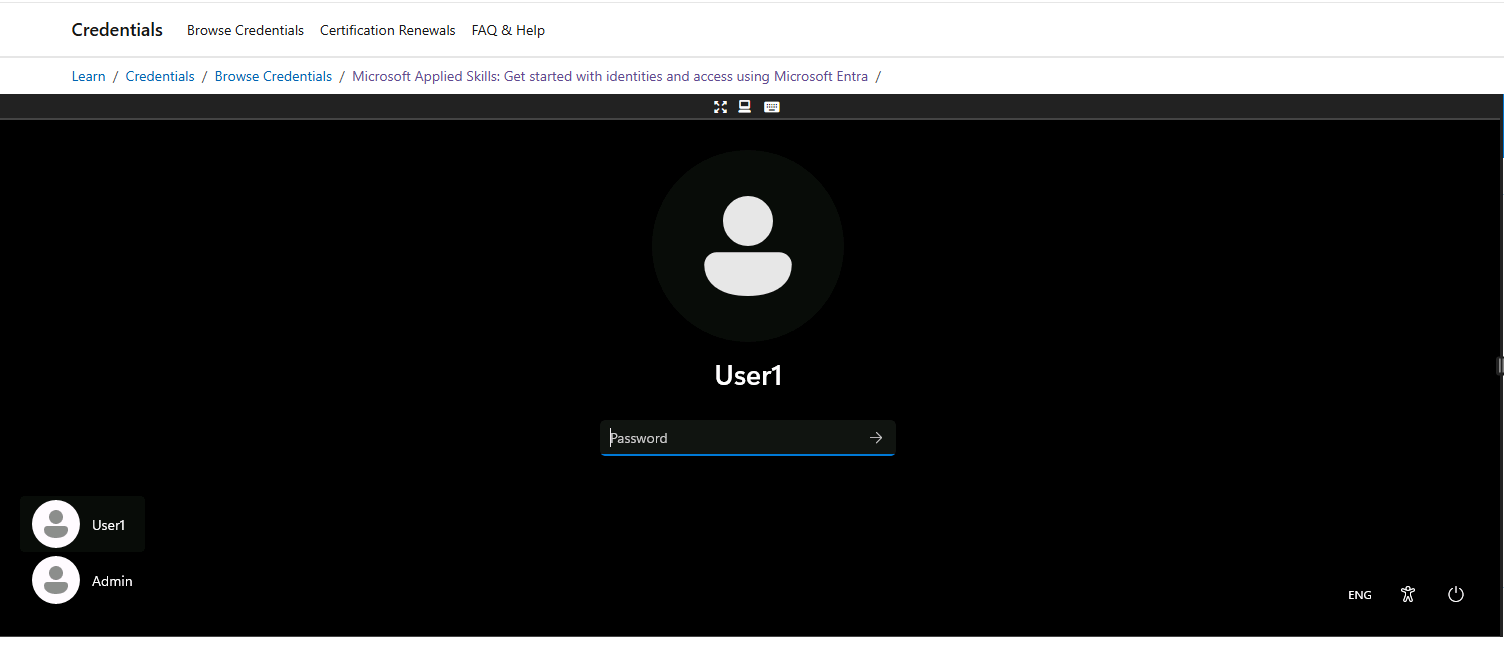
Are these assessments lab based only? Yes, Microsoft Applied Skills assessments are entirely lab based. When you launch an assessment, a virtual machine is loaded. You’ll be provided with a username and password to sign in to the lab environment. In addition, you’ll receive account credentials to access the relevant portals, such as the Azure portal, Microsoft 365 Admin Centre, or other tools depending on the scenario. These credentials allow you to complete the tasks required in the assessment using real software in a live, cloud hosted environment.
Are Microsoft Applied Skills assessments free? Yes, Microsoft Applied Skills assessments are currently free of charge. However, this may change in the future.
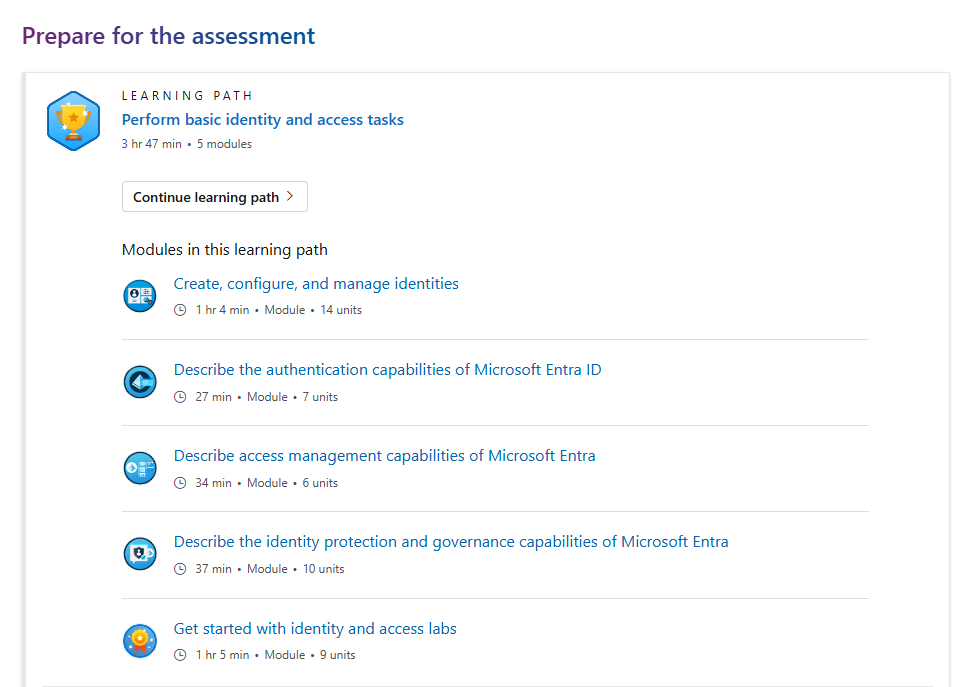
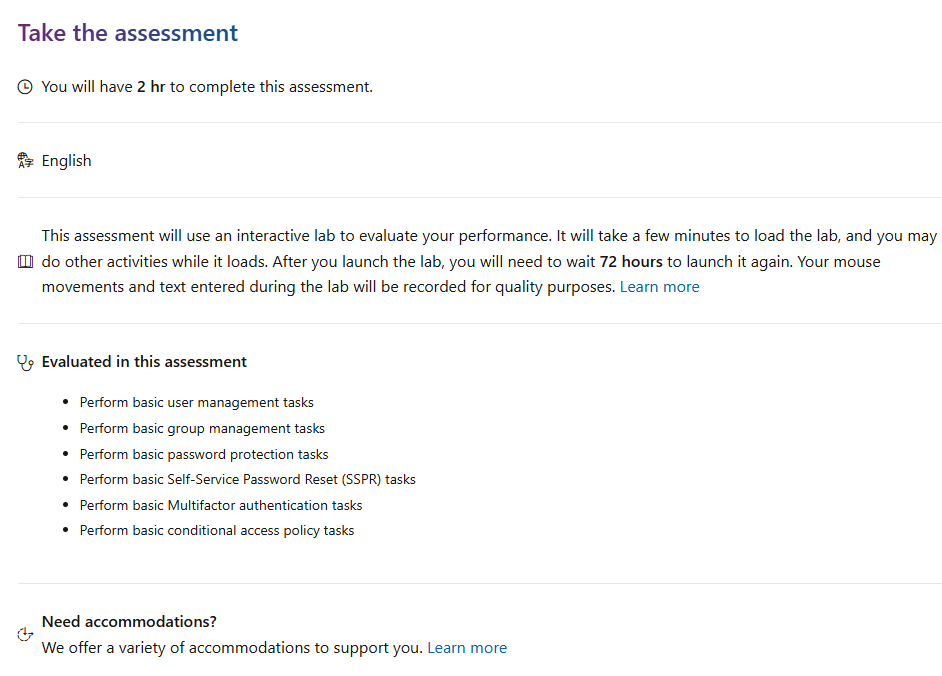
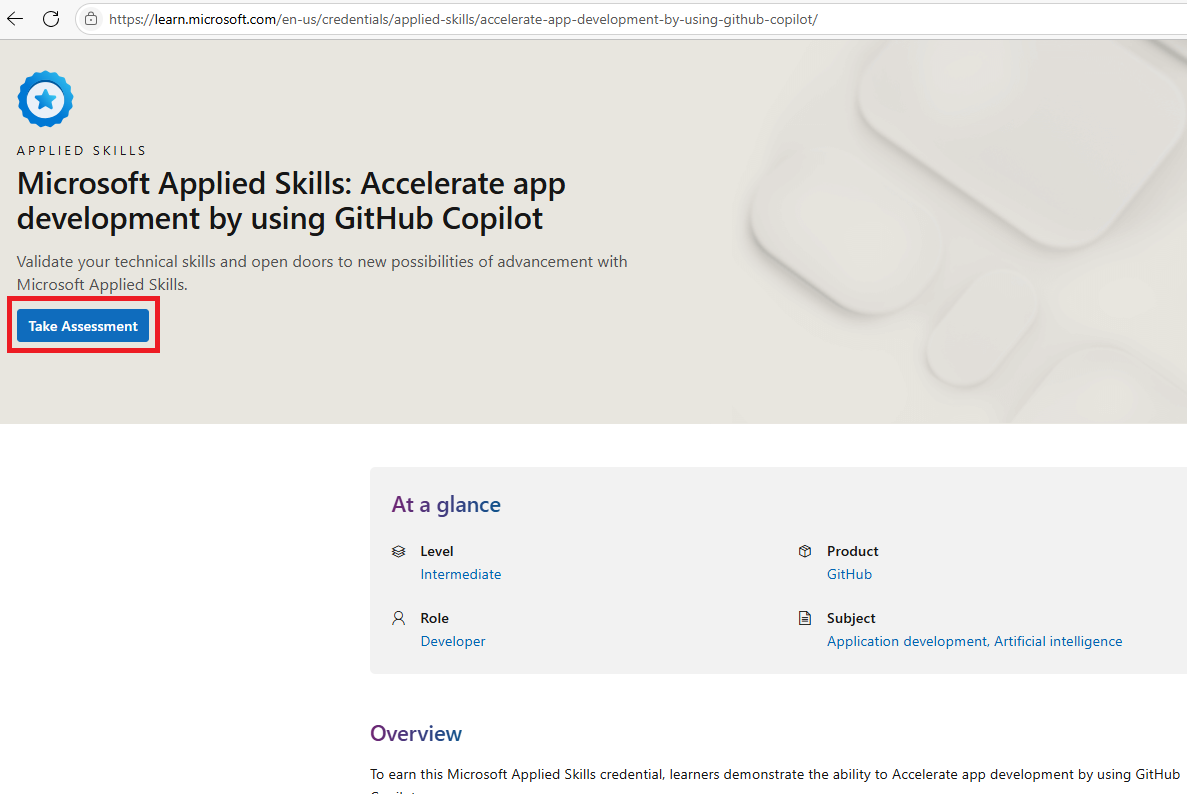
What if I want to learn about the topic before launching and taking the assessment? Each Microsoft Applied Skills assessment includes a free learning path that you can complete at your own pace. These learning paths are designed to help you build the foundational knowledge needed to succeed in the assessment. In addition to self paced learning, instructor led training is also available for many credentials. These paid training options are delivered by Microsoft Certified Trainers and can provide more structured, hands on guidance if you prefer a classroom style experience. Once you feel confident, you can return to the credential page and launch the assessment directly, as shown in the images below.
Is the assessment moderated? No, Microsoft Applied Skills assessments are not proctored or moderated. They are open book, meaning you can refer to documentation, notes, or other resources while completing the tasks. This format reflects real world working conditions, where professionals often consult references to solve problems effectively.
Is there a time limit? You will have 2 hours to complete the lab with the ability to request an additional hour if needed as you progress through the lab.
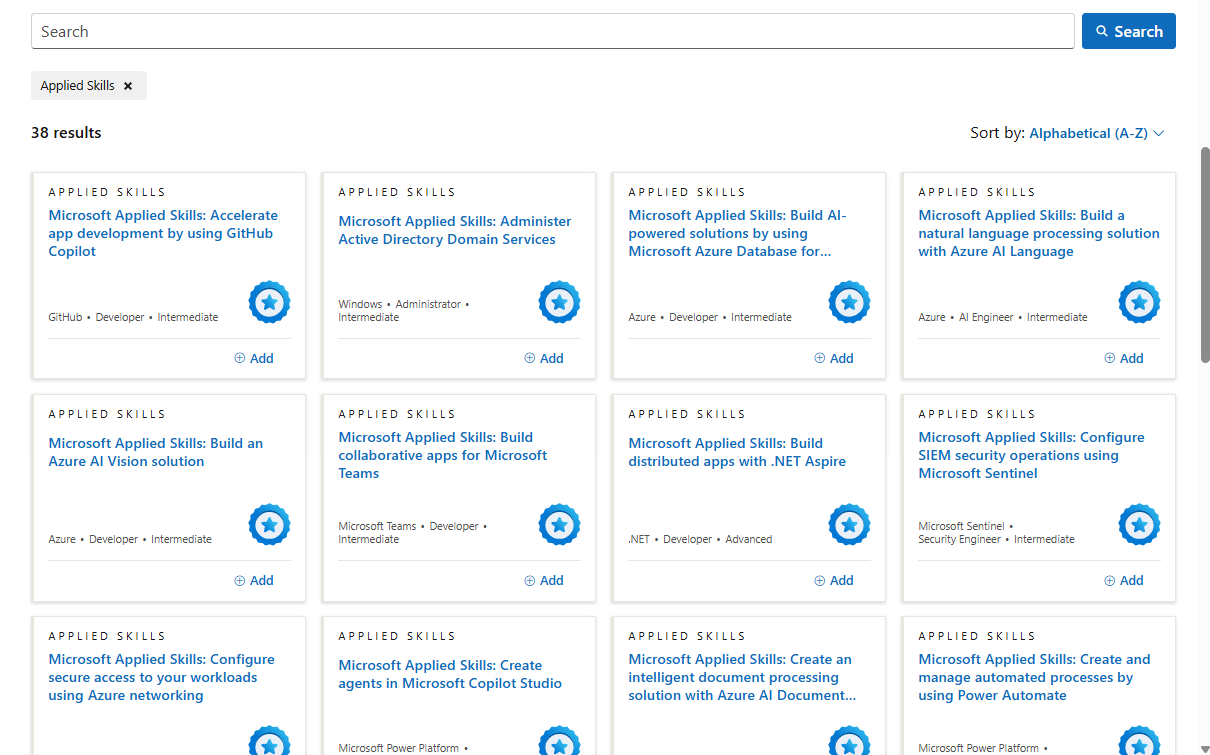
How many assessments are available for me to take? At the time of writing, there was 38 free assessments available at the following link, Browse Credentials | Microsoft Learn. These assessments span a variety of technologies and roles, including:
.NET
Active Directory
ASP.NET
Azure
Github
Microsoft 365
Microsoft Copilot
Microsoft Defender
Microsoft Entra
Microsoft Fabric
Microsoft Graph
Microsoft Power Platform
Microsoft Teams
SQL Server
Visual Studio Code
Windows Server
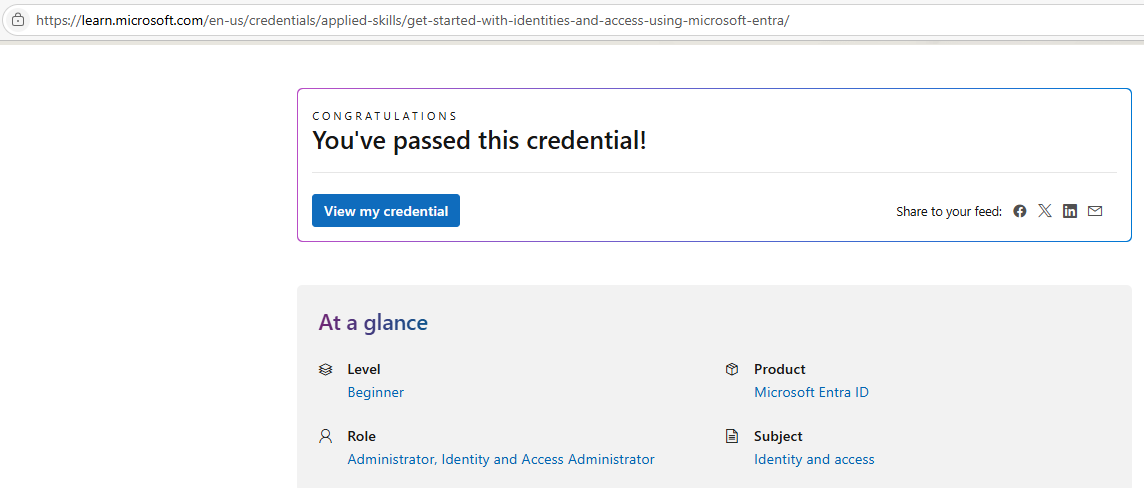
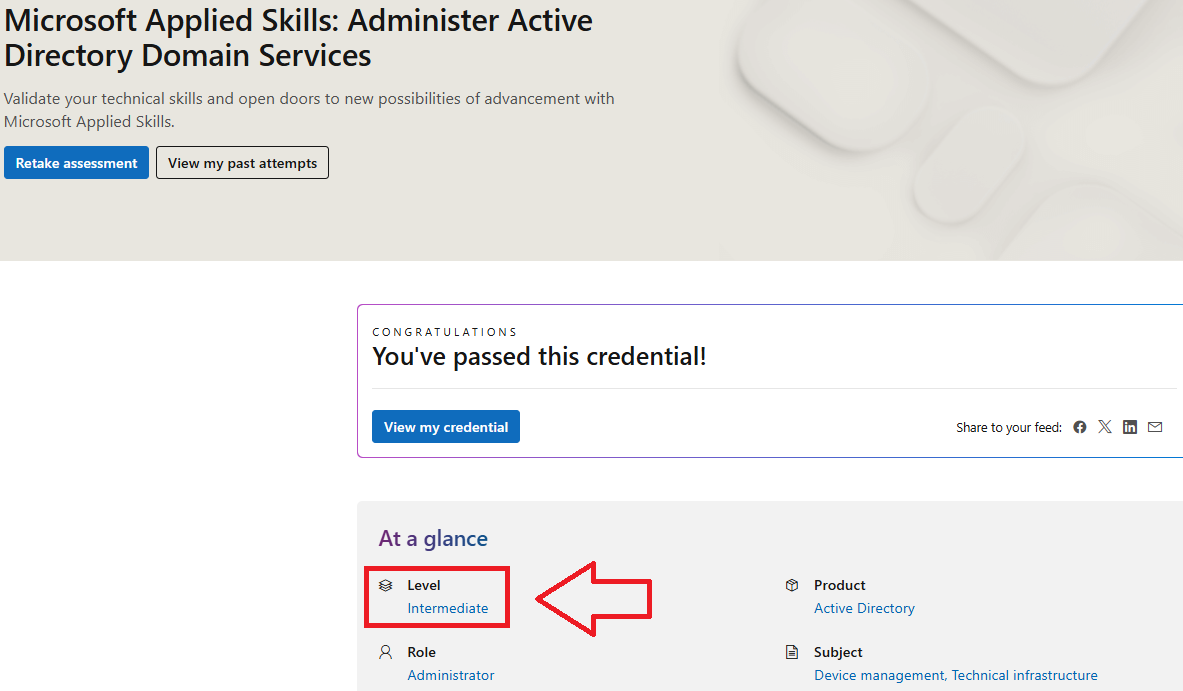
Are these assessments for beginners? There are beginner, intermediate and advanced assessments available. The difficulty level is clearly documented on each credential’s detail page. Example below:
Check out the Applied Skills poster at the following Microsoft link: https://aka.ms/AppliedSkillsPoster This poster lists all Microsoft Applied Skills credentials on one page.
How do I start the assessment? To begin a Microsoft Applied Skills assessment:
Review the learning path (optional) if you want to prepare beforehand.
When ready, click “Launch lab assessment” to begin.
You’ll be guided through the process of signing in and accessing the virtual lab environment.
Log in to Microsoft Learn using your personal email account. Once you’re ready, click the “Take assessment” button on the credential page to begin, as shown in the image below.
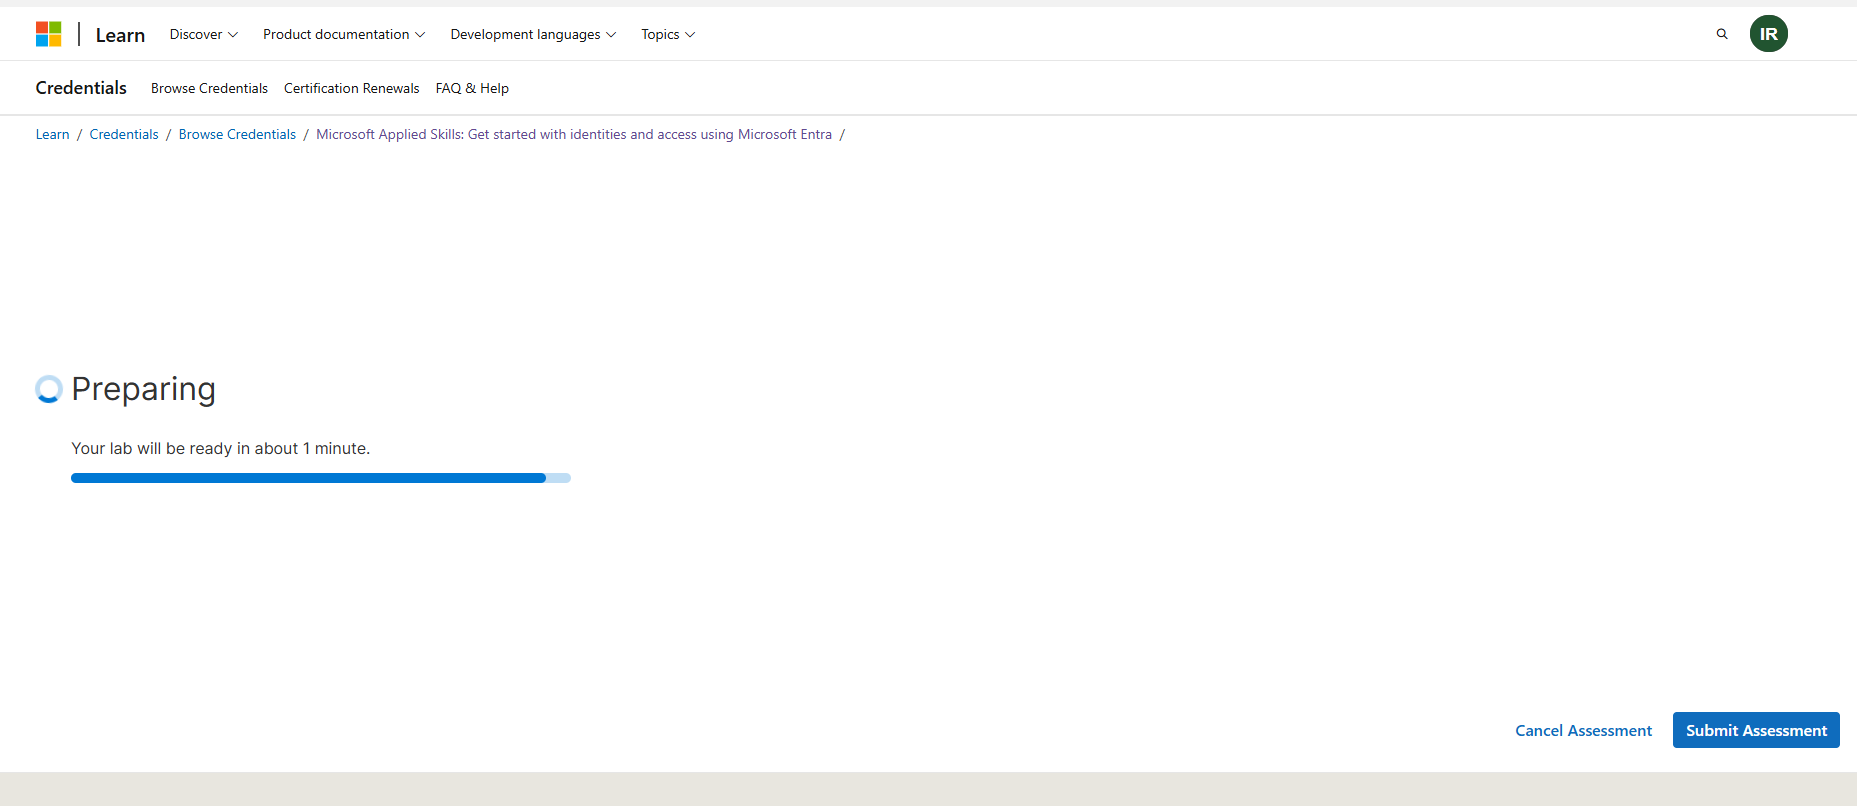
Wait for the lab virtual machine to load. This may take a few moments, so please be patient while the environment is being prepared.
Log in using the credentials provided. These will appear on the right hand side of the screen once the lab environment has loaded.
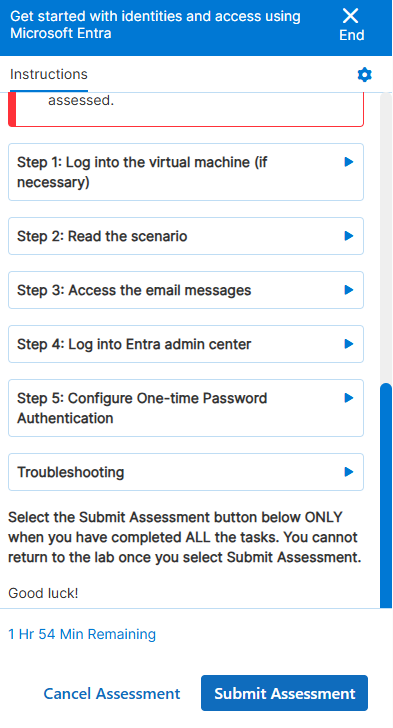
In the lab, you’ll be asked to complete a series of tasks. The guidelines and requirements for these tasks are provided through a series of email messages, which you can access within the lab environment.
Can I save the lab and come back later? No, you will not be able to save your progress and return to the lab at a later time. Once the assessment begins, you must complete all tasks in a single session. Be sure to plan accordingly and allow enough uninterrupted time to finish the lab.
What if I fail the assessment? can I take it again? Yes, if you are not successful, you can retake the assessment. However, you must wait 72 hours before launching it again. This gives you time to review your performance, revisit the learning materials, and prepare for another attempt. If you fail again, you can still retake the assessment after another 72 hour wait. There is currently no limiton the number of attempts for Microsoft Applied Skills assessments.
What happens when I complete all the tasks? After you’ve completed all the tasks in the lab, click the “Submit Assessment” button to submit your work for scoring. You’ll be asked to confirm that you want to end the lab. Selecting “Yes” will close the lab session and trigger the scoring process.
It typically takes a few minutes to evaluate your work. During this time, your actions are reviewed against the expected outcomes for each task. Do not click “Submit Assessment” until you’ve completed all tasks, as you won’t be able to return to the lab once it’s submitted.
Do Microsoft Applied Skills credentials expire? Microsoft Applied Skills credentials do not expire. Once earned, they remain active on your Microsoft Learn profile. However, Microsoft may retirespecific credentials over time to keep the programme aligned with evolving technologies.
Are Applied Skills credentials replacing role/questions based certifications? No. Applied Skills credentials are not replacing Certifications. Microsoft are expanding their credentialing portfolio to better meet the needs of learners and customers by allowing people to validate very specific skills sets with this new offering.
Certifications are role based and assess a broader range of skills required to succeed in critical job roles within today’s rapidly evolving technical landscape
In contrast, Applied Skills credentials are scenario based and focus on a narrower skill set, typically aligned to solving a specific business challenge or implementing a targeted solution.
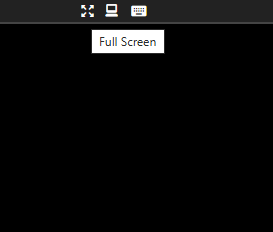
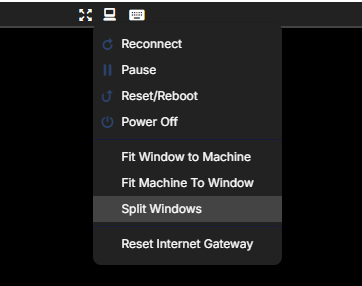
Tip for Using the Virtual Lab You can resize the virtual lab machine to make it larger for easier viewing. If you have a second monitor, you can also split the instructions onto a separate screen. This gives you more space to work inside the lab environment and helps you follow the steps more comfortably.
In this blog post, I’ll explore Copilot pages, a feature available to organisations using Microsoft 365 Copilot and Microsoft 365 Copilot Chat. If you’d like to learn more about these tools, check out my earlier post at the following link, Microsoft 365 Copilot Chat and Microsoft 365 Copilot Explained.
Note: A SharePoint license is required for Copilot Pages to function. While Copilot Pages are powered by Microsoft Loop, they are stored in SharePoint Embedded user-owned containers, not directly within the Loop app.
Copilot Pages in Microsoft 365 are dynamic, collaborative workspaces powered by Microsoft Loop. They’re designed to help you transform Copilot generated responses into living documents that you can build on, either individually or with your team in real time.
Imagine you’re planning a 3 day team event in London for 20 people. You input the following prompt in Microsoft 365 Copilot:
“Please create a detailed 3-day team event itinerary in London for 20 people. The plan should include: – Hotel recommendations with good value for money (mid-range pricing, central location preferred). – Estimated daily food costs (breakfast, lunch, and dinner). – Fun and engaging group activities, such as bowling, escape rooms, or interactive games. – Transportation considerations between venues if needed. – The goal is to balance fun, convenience, and cost-effectiveness.”
Copilot generates a detailed plan, but you can’t make changes to the response directly. Instead, you need to copy the output and paste it into a document,
With Copilot Pages, you can turn a Copilot generated response into an editable, collaborative page. From there, you can invite colleagues to collaborate in real time, manually updating hotel options, refining the schedule, and tracking costs together, all in one place.
Copilot Pages make it easy to stay organised, enabling you to co-create content that evolves with your project. As your colleagues help update the plan, you can continue asking Copilot for additional information and add it to the existing page with a click.
In this post, I’ll take you through a step by step demo of Copilot Pages. Let’s get started.
Go to https://copilot.cloud.microsoft and sign in using your Entra ID (work email address). You also access Copilot Chat directly from within Microsoft Teams or Outlook. As of May 2025, Copilot Chat is pinned by default to the navigation bar in these apps for most eligible users. For more details on accessing Copilot Chat, refer to my blog post I linked at the start of this article.
I enter the following prompt into Copilot:
Please create a detailed 3-day team event itinerary in London for 20 people. The plan should include: – Hotel recommendations with good value for money (mid-range pricing, central location preferred). – Estimated daily food costs (breakfast, lunch, and dinner). – Fun and engaging group activities, such as bowling, escape rooms, or interactive games. – Transportation considerations between venues if needed. – The goal is to balance fun, convenience, and cost-effectiveness.
Here is the response generated by Copilot:
2. I have the option to copy the response by clicking the copy button, or I can choose the option to edit in Pages, as shown in the image below. Let’s click Edit in Pages to continue.
3. After I click on Edit in Pages, the response is transferred into an editable Copilot page on the right-hand side of my screen. I can continue interacting with Copilot on the left, as shown in the image below.
Another image is shown below, displaying only the editable Copilot page.
4. I can now make changes to this document, such as removing, adding, or moving data. The Copilot response is now fully editable, thanks to Copilot pages. I can also add additional elements such as a table, a numbered or bullet list, a checklist, and more.
As shown in the image below, I can remove text, add headings, format the text, and more.
5. I can also continue chatting with Copilot and add the additional response into the existing Copilot Page with a click of a button.
I’ll add another prompt as follows: Create a list of three well known places we can visit near city centre, including information on how to get there via public transport.
Below is the response from Copilot.
I can click Add to page, and from the drop down menu, select Add to recent page. As per the image below:
The response has now been added to the existing Copilot page.
Furthermore, I can ask Copilot to create a table of actions we need to carry out before the team event. This table can also be included in the existing Copilot Page.
I input another prompt as follows:
“Create a table of actions we need to progress to before the Team get together. Include a column for Assigned to, Priority, Status”
Again, I’ll click the button Edit in Pages and add the table to my existing Copilot page, allowing me to make additional changes, including adding new columns if needed, as shown in the image below.
Assigning members to the tasks
Now that I have added the table created by Copilot into my Copilot page. I may want to invite team members to join me in working on the page.
Using the @ symbol, I can mention and invite colleagues to collaborate on the document in sync and in real time. Both myself and my colleagues can work on the document and see the changes being made. The colleagues I invite will receive a notification letting them know they’ve been invited to collaborate, and they can start working on the page straight away.
My colleague will receive an email notification, as shown in the image below:
But what if I want to share this page with my wider team, or include the document in an email with the option for team members to make changes directly from the email? Is this possible? Yes!
In the top right corner of your Copilot Page, there is a share icon. This allows you to share the page with others so they can collaborate. The icon just to the left of it lets you export the document to Microsoft Word, if needed.
When clicking the share icon, as shown in the image below, two options appear.
Page link: This option allows me to copy the link to the Copilot Page and control permissions via the settings link. I can decide who is allowed to access my Copilot Page. By default, anyone in my organisation can edit the page.
I can share the link with my colleagues, and they’ll be able to access the Copilot Page, which is located inside Microsoft Loop. Copilot Pages is powered by the Microsoft Loop application. While the experience is powered by the Microsoft Loop application, the content itself is stored in SharePoint Embedded containers within Microsoft 365.
Permissions can be changed by clicking settings.
When a colleague opens the link I share, the Copilot Page is visible, as shown in the image below.
Copy Component This option allows me to copy a live component from my Copilot Page and share it in other Microsoft 365 apps, such as Outlook or Teams. I can set permissions as needed, and thanks to Microsoft Loop, the component remains live and editable.
For example, I can paste the component into an email to my team. They’ll be able to edit the content directly from the email, and any changes made will sync in real time with the original Copilot Page.
As shown in the image below, my Copilot Page has been embedded as a Loop component in an email. Any updates made here will reflect instantly in the central Copilot Page. This is the power of the component option.
How can I revisit previous Copilot Pages if I close down Copilot?
You can continue working on your page by opening the Microsoft Loop app, where your Copilot Pages are accessible.
I hope you found this post useful. Catch you in the next one.
Subscribe
Subscribe to new tech posts.
We will never send you spam email or forward your details to third parties.